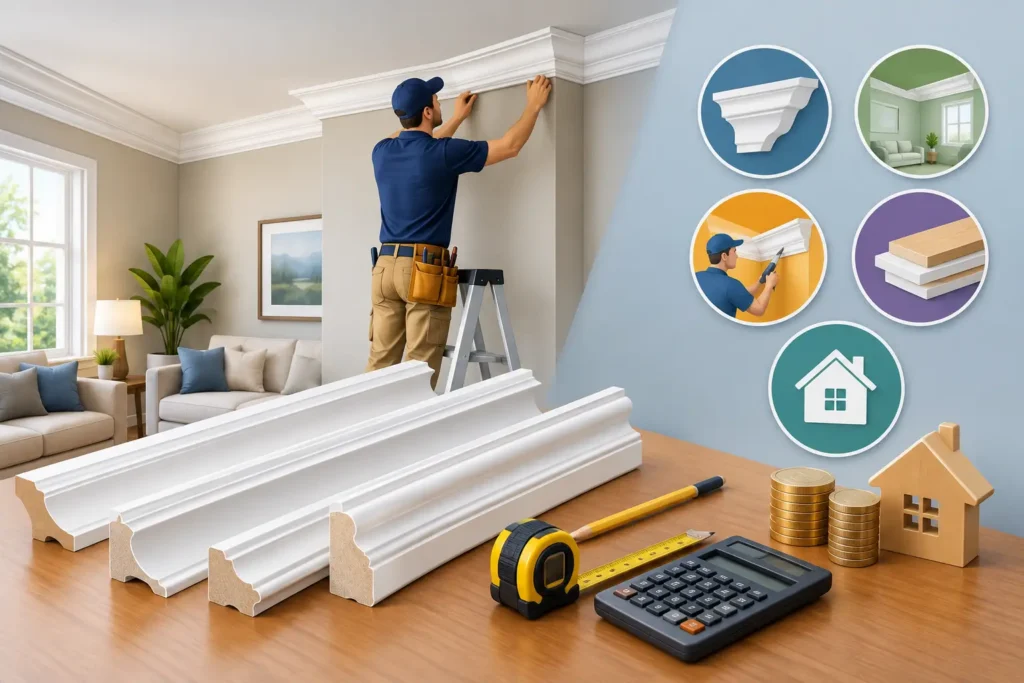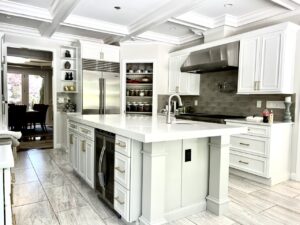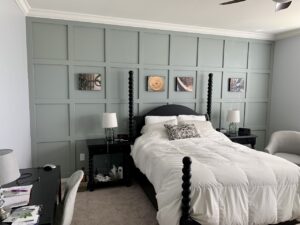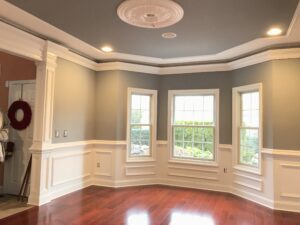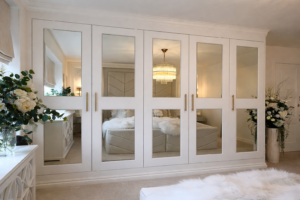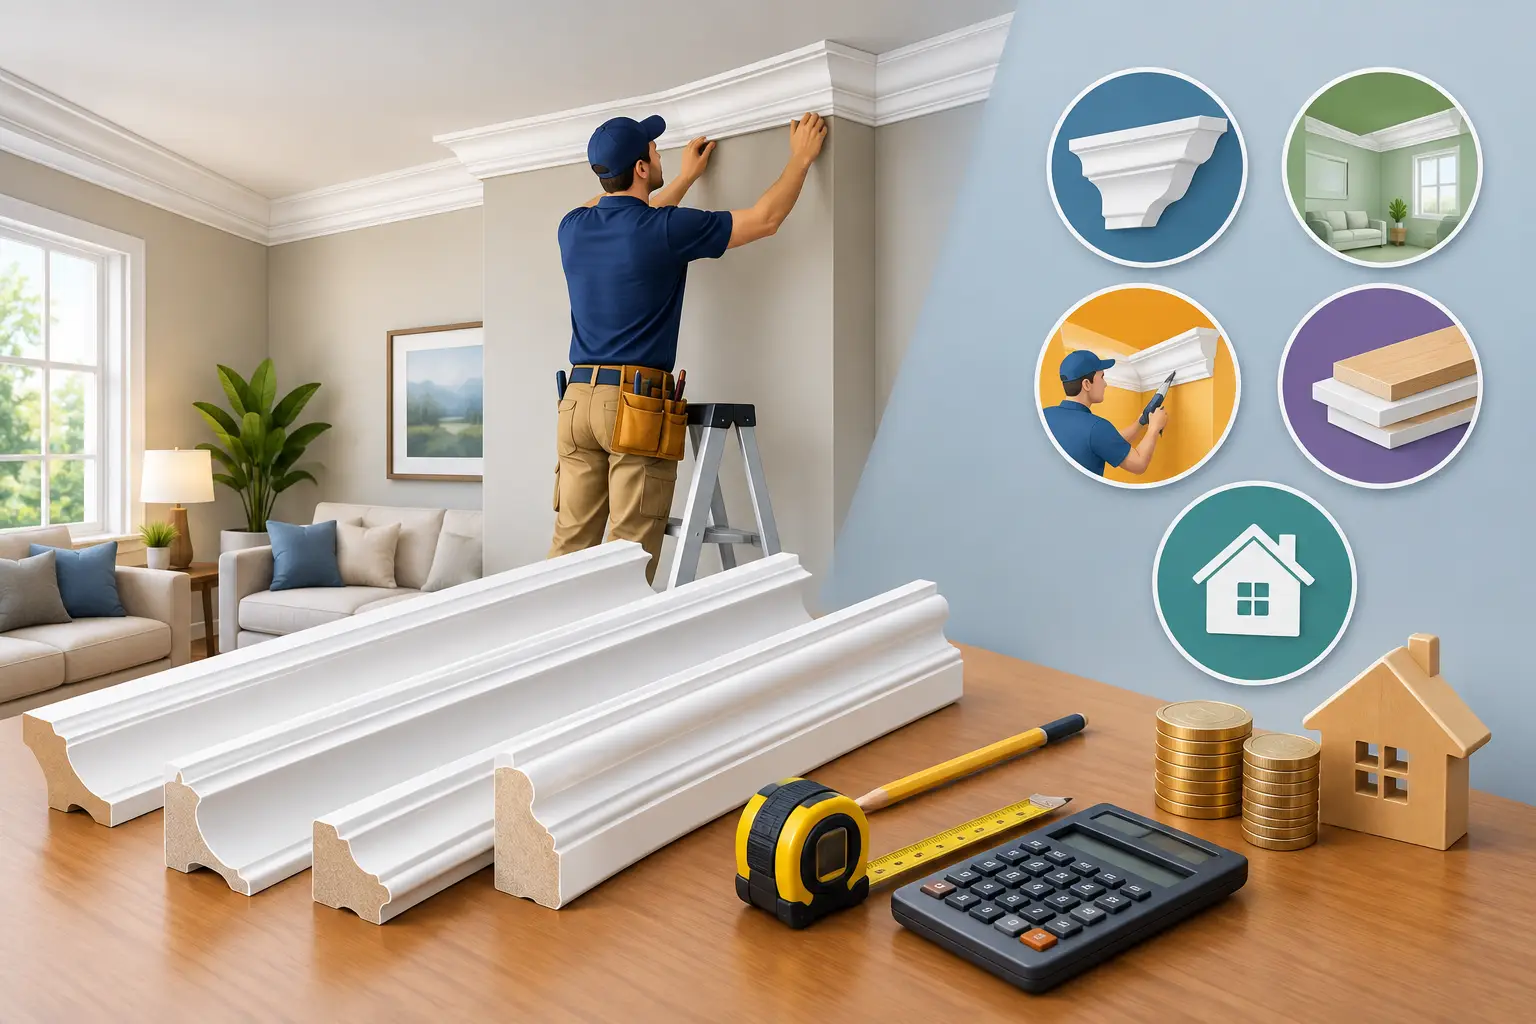
A ceiling can be perfectly painted and still feel unfinished. Crown molding changes that transition, giving a room a more deliberate edge and reinforcing the architectural character already present in the home. The crown molding installation cost depends on far more than the number of feet around the room. Material, ceiling height, wall conditions, profile selection, finish work, and the precision required at every corner all affect the final investment.
For Central New Jersey homeowners, crown molding is often part of a larger effort to refine a living room, dining room, foyer, primary bedroom, or renovated kitchen. When it is selected in proportion to the room and installed with care, it can make a familiar space feel more tailored and complete for years to come.
Typical Crown Molding Installation Cost
Most crown molding projects are priced by linear foot, but a complete estimate should account for the room rather than treating every foot as identical. As a general planning range, professionally installed crown molding may cost roughly $8 to $25 per linear foot for straightforward painted profiles in accessible rooms. More substantial wood profiles, detailed multi-piece assemblies, stain-grade materials, high ceilings, and challenging layouts can move the investment to $25 to $60 or more per linear foot.
For a standard single room, homeowners may see project totals from approximately $700 to $2,000 or more. Larger open-concept spaces, formal rooms with elaborate trim, and whole-home work can extend well beyond that range. These figures are useful for early planning, but they are not substitutes for a site-specific assessment.
A low price can be appealing, especially when molding appears to be a simple finishing detail. Yet crown molding is highly visible. Gaps at the ceiling, poorly fitted corners, inconsistent caulk lines, and uneven paint can make even an expensive profile look temporary. The lasting value comes from accurate measurement, clean joinery, thoughtful material selection, and a finish that reads as part of the home rather than an addition applied after the fact.
What Affects Crown Molding Installation Cost?
Material and profile size
The molding itself is a meaningful part of the budget. MDF is commonly used for painted applications because it provides a smooth, consistent surface and can be cost-effective in dry, climate-controlled rooms. Finger-jointed pine and other paint-grade woods offer another durable option, while stain-grade hardwoods are selected when the natural grain will remain visible.
Polyurethane and other lightweight composite moldings can work well in certain applications, particularly where moisture resistance or easier handling is useful. However, material cost is only one consideration. A profile must also suit the room. A narrow molding can disappear against a tall ceiling, while an oversized profile can feel heavy in a modest bedroom or hallway.
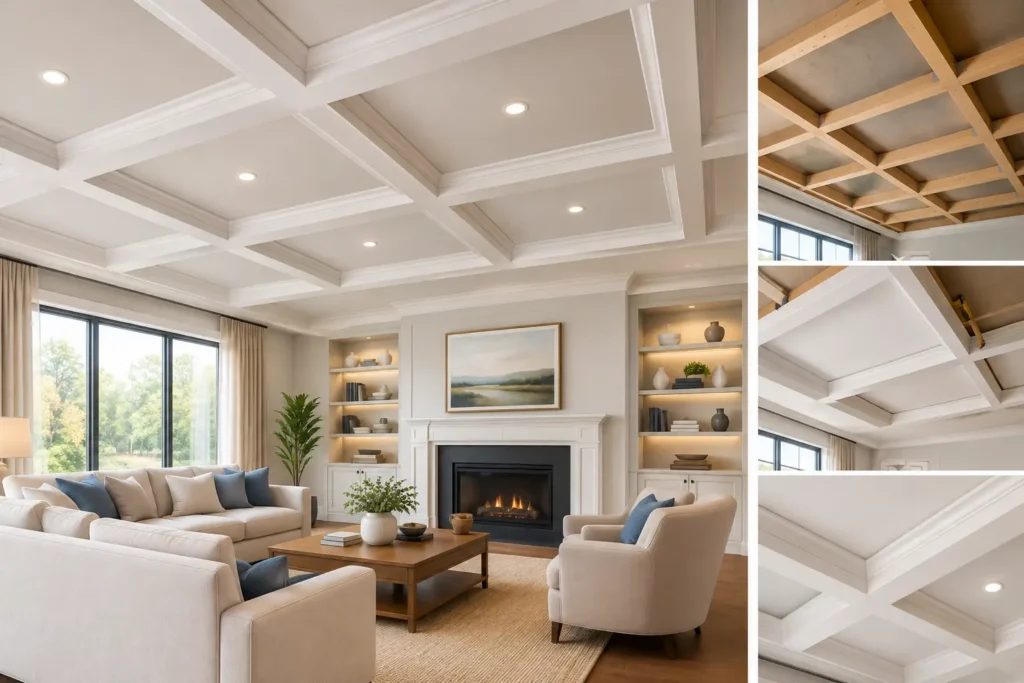
Single-piece crown is usually less labor-intensive than a built-up design. A multi-piece assembly may combine crown, backer boards, bed molding, panel molding, or other elements to create deeper shadow lines and a more substantial architectural presence. That additional refinement requires more layout, more cuts, and more finishing work, which increases the installation cost.
Ceiling height and room proportions
Ceiling height influences both design and labor. In an eight-foot room, a modest profile often creates the most balanced result. Nine- and ten-foot ceilings can support wider or more layered crown molding, while grand foyers and vaulted spaces may require a tailored approach that considers sightlines from multiple levels.
Higher ceilings also make installation more demanding. Working from tall ladders or scaffolding, making long runs align cleanly, and finishing seams overhead all add time. Cathedral ceilings, tray ceilings, and ceiling transitions with changing angles require additional planning because standard corner assumptions no longer apply.
Corners, obstacles, and layout complexity
A rectangular room with four accessible corners is very different from a room with bay windows, columns, soffits, fireplace surrounds, cabinetry, vents, or multiple door openings. Each interruption calls for careful decisions about where the molding begins, ends, returns, or transitions.
Outside corners are especially vulnerable to damage and visual inconsistency if they are not cut and secured properly. Inside corners may be mitered or coped depending on the material, profile, and wall conditions. An experienced finish carpenter evaluates these details before installation so the final lines remain crisp from every viewpoint.
Open floor plans present another consideration. Crown molding may need to continue through adjacent spaces to avoid an abrupt visual stop. That creates a larger material and labor scope, but it also produces a more cohesive result. In many homes, continuity is what makes the upgrade feel intentional.
Existing wall and ceiling conditions
Older homes and newly renovated homes can both have surfaces that are not perfectly straight or square. Ceilings may dip slightly, walls may bow, and corners may be off-angle. Crown molding can help soften these irregularities, but it cannot ignore them.
Preparation may include minor patching, correcting loose drywall, removing old trim, filling previous nail holes, or addressing paint buildup at the ceiling line. If a ceiling has significant unevenness, the installer may need to scribe, shim, or make other careful adjustments to preserve a clean visual line. This is where a detailed estimate matters: preparation is often invisible after completion, but it directly affects the quality and durability of the work.
Painting, staining, and finish expectations
Installation is only part of the finished appearance. Painted crown molding usually requires filling fastener holes, caulking the molding-to-wall and molding-to-ceiling joints as appropriate, sanding, priming when needed, and applying a consistent final coat. The cleaner the finish standard, the more time should be allowed.
Stain-grade crown molding requires even more precision because imperfections cannot be concealed with paint. Wood grain, color matching, joinery, and the direction of the material all deserve close attention. A stain-grade installation can be striking, but it is not the place to compromise on material quality or workmanship.
Why Labor Often Represents the Greater Value
Homeowners sometimes compare only the price of molding at a lumberyard or home improvement store. That number rarely reflects the full scope of a professional installation. Accurate measuring, material ordering, cutting, fitting, fastening, joint treatment, protection of adjacent surfaces, cleanup, and finish preparation all require skilled labor.
Crown molding also demands a different level of precision than basic baseboard. The profile is installed overhead, where light can reveal small inconsistencies, and each joint must accommodate the relationship between wall and ceiling. A gap of only a fraction of an inch can become noticeable once paint is applied.
With more than 25 years of hands-on finish carpentry experience, DoMolding approaches crown molding as an architectural detail rather than a commodity. The goal is not simply to place trim at the ceiling line. It is to create a proportioned, durable finish that supports the character of the entire room.
How to Plan a More Accurate Budget
Before requesting an estimate, consider whether crown molding is a stand-alone improvement or one part of a broader interior project. If walls are being painted, cabinetry is being refinished, wall paneling is being added, or other trim is being updated, coordinating the work can produce a more unified design and reduce repeated preparation.
Photos and rough room dimensions are helpful starting points, but an in-home consultation provides the clearest picture. During a walkthrough, a professional can assess ceiling height, wall conditions, existing trim, room transitions, and the profile that will feel most natural in the space. This also gives homeowners an opportunity to discuss painted versus stained finishes, desired scale, and whether a simple profile or built-up detail best fits the home.
It is wise to compare proposals by scope, not just the final number. Confirm the material being specified, whether removal or preparation is included, how seams and nail holes will be finished, and whether painting is part of the work. A clear scope protects the quality of the result and prevents assumptions from becoming change orders later.
Choosing Value Over a Quick Fix
Crown molding is a permanent visual element. Once installed, it frames every wall, window treatment, artwork grouping, and ceiling fixture in the room. Choosing the least expensive option may make sense for a temporary refresh, but homeowners investing in a long-term interior should consider how the material, profile, and installation standard will perform over time.
The best crown molding does not call attention to a shortcut. It simply gives the room a stronger sense of proportion and finish. A careful consultation can turn that effect into a clear plan, with a design and installation scope suited to the home, the budget, and the level of refinement the space deserves.